Tutorials
How to Do Paint Fill
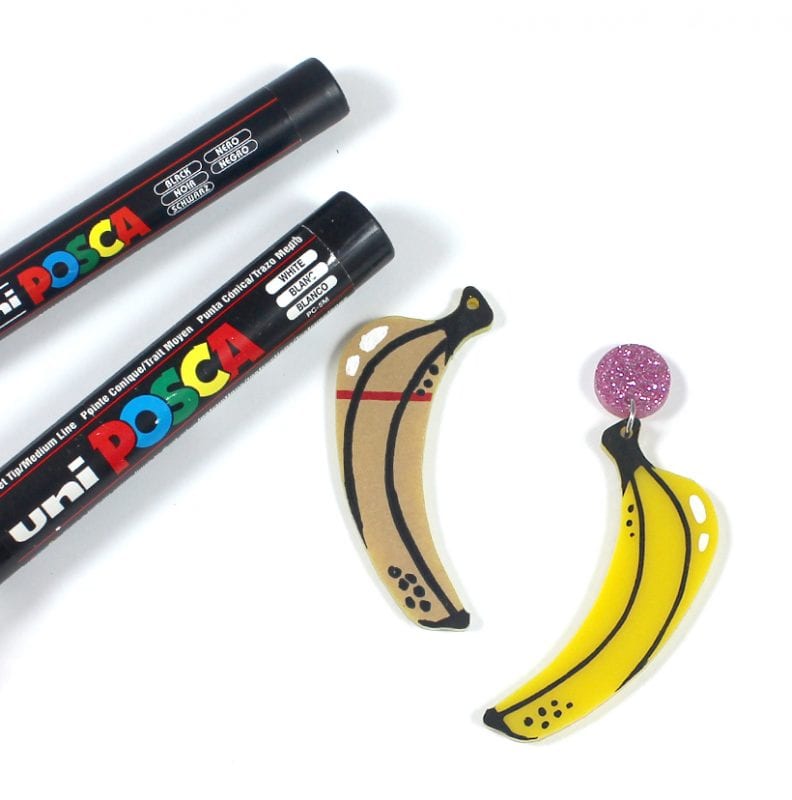
Paint fill is a fantastic and simple way to add colour and detail to any etched laser cut pieces! Our demonstration below is for paint filling a pattern, but you could use this technique with any design – like a detailed multi-colour face or flower!
What You’ll Need:
- Laser engraved acrylic pieces with tape still on** (not recommended for matte finish acrylic as the paint may bleed and be difficult to clean off). Can be done with peeled pieces also (recommended for fine lines).
- Acrylic paint pen/s (more information in Step 1)
- A piece of scrap paper
- Baby wipes
- Tweezers
Step 1: Get Familiar With your Paint Pens
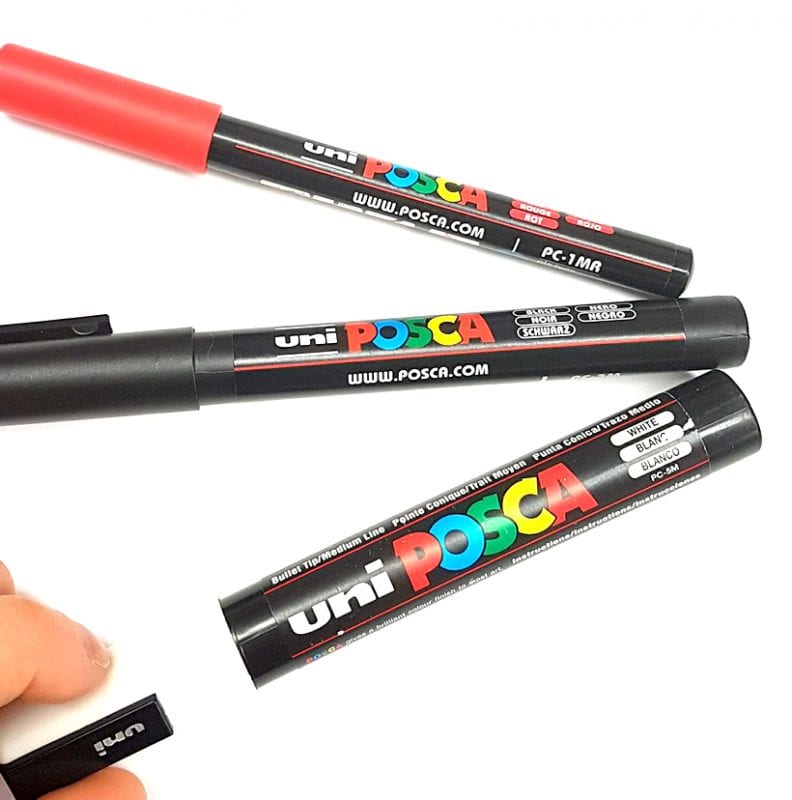
You can use any type of acrylic paint for paint fill. We use and recommend Uni POSCA pens. Ironlak is another common brand (they’re typically better quality and have a larger colour range), but we have not used these before. Our advice with any technique is to try one one pieces first (before painting ALL your pieces) – this way you can check to make sure that everything is work well before moving forward. Any type of acrylic paint pen will do generally the same thing; however, cheap acrylic paint/pens will have a low pigment quality, which means you may have to do multiple coats to get an opaque finish. Most sizes may suitable – we commonly use the 0.7mm and 0.9mm-1.3mm.
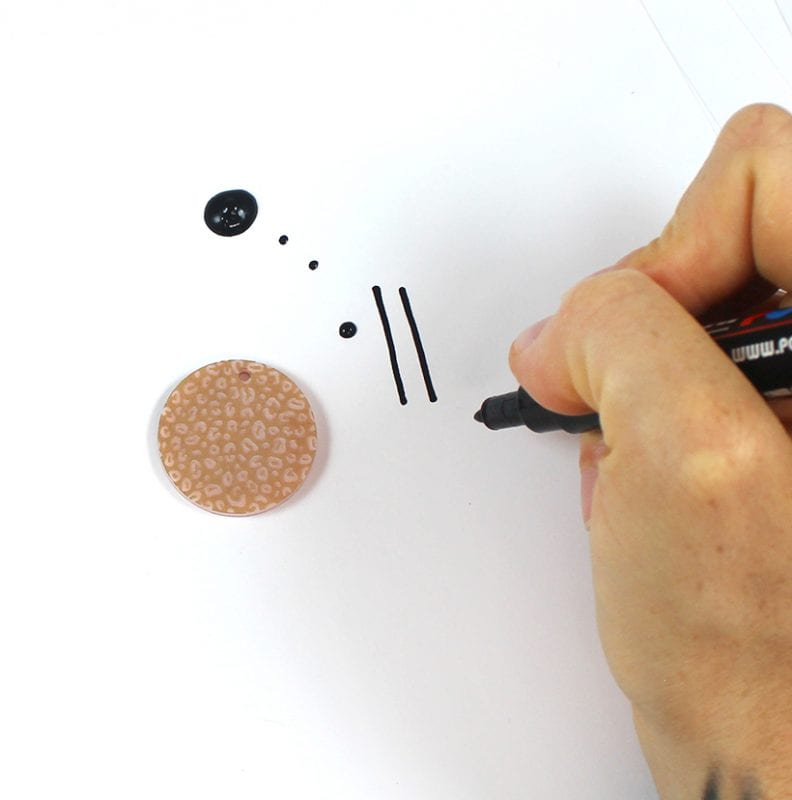
Step 2: Get Your Paint Pen/s Flowing
Un-cap your pen and ‘start’ it by shaking the pen and pressing the nib in and out onto a piece of paper. The ink should flow smoothly from the nib when it makes contact with the paper.
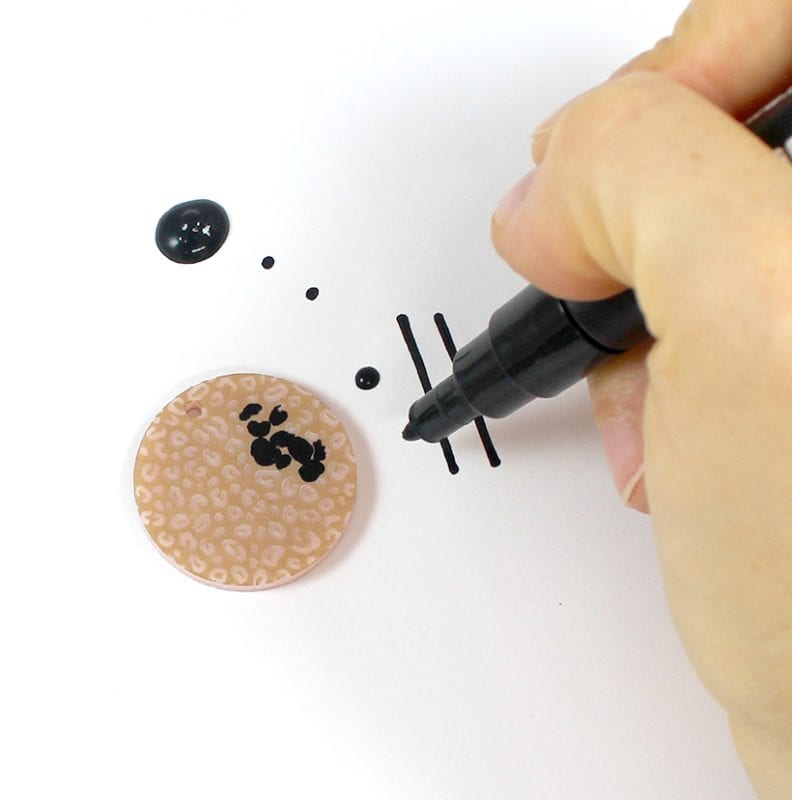
Step 3: Colour in Your Etched Areas
Use your paint pen to colour in the etched areas. You can colour it all in the same, or colour in different areas with different colours. If using different colours, work from light to dark to minimise damaging your paint pens, and leave some time in-between colours for the paint to touch dry. It’s OK if you ‘go outside the lines’ because paint fill will only work on the etched areas. The etched areas have a rough surface that the paint will stick too. Any paint that bleeds out onto the un-etched areas can be wiped away later as it does not stick to the smooth finish of the acrylic.
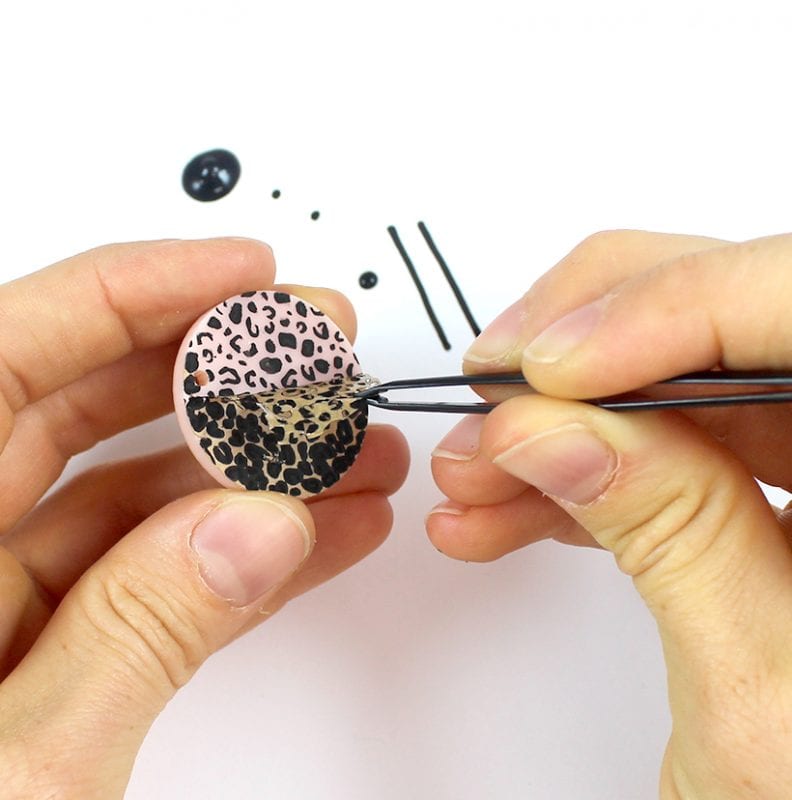
Step 4: Wait for the Paint to Dry the Peel
Leave your pieces to dry completely – at least a couple of hours. The paint will look different when it’s dry (less glossy). When dry, use tweezers to pick up the edges of the protective tape, and reveal your new paint fill!
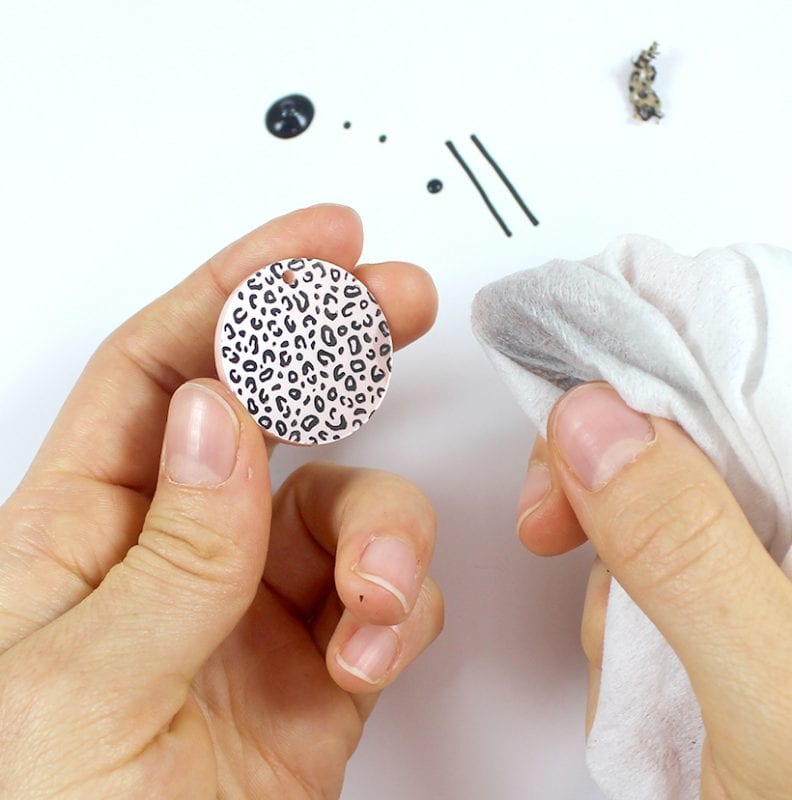
Step 5: Tidy if Needed
If any paint has gone outside of the etched areas, use a baby wipe (we’ve heard antibacterial wipes and makeup wipes also work well) to gently wipe off the unwanted paint. The paint will adhere really well to the etch areas and should come off the high gloss finish with ease. You do not need to add any varnish or finish to your pieces – acrylic paint is technically plastic and waterproof once dry.
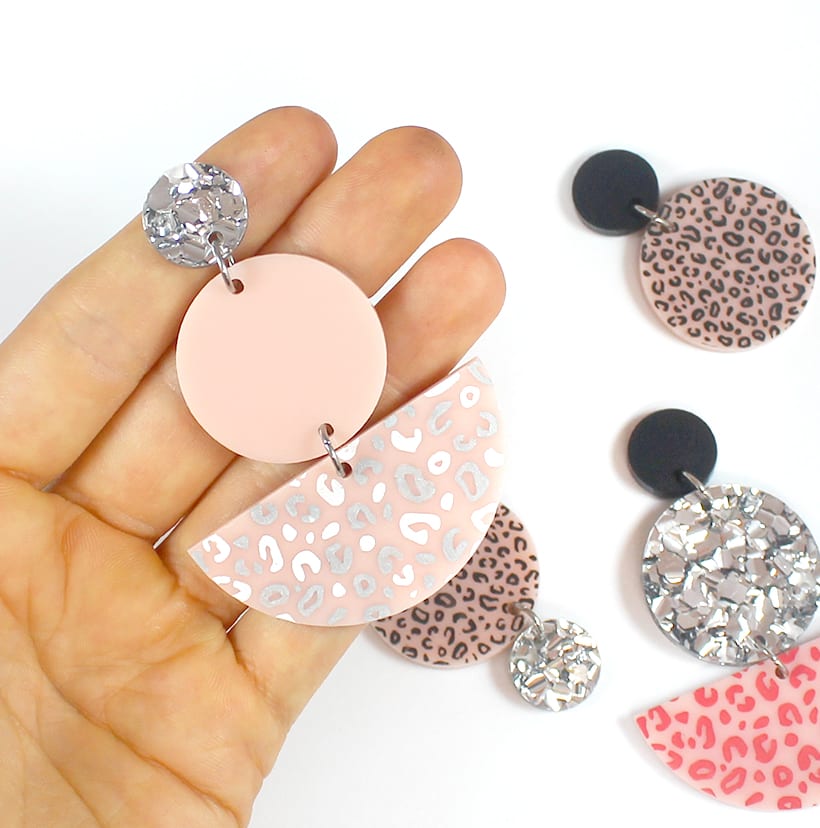
Step 6: Keep Creating!
Try other colour combinations and shapes! Combine this tutorial with our other tutorials. Maybe you want to go a step further and link your shapes to something else, or glue them up to be brooches. Keep creating past the basic guide to make even more unique pieces!Final Tips:
- *Paint fill does not work on matte finish acrylics, like Sweet Pastels or Matte Black or Matte White. The protective tape utilised for paint fill techniques does not stick down enough to the matte surface, and the paint sticks to the matte finish as well as the etched areas.
- With any technique, we recommend trying on one or two pieces and doing some testing before applying the processes to all your pieces. That way is anything isn’t working well, or you want to make changes you allow yourself some pieces to do so.
- Check out our page of Designers and Resources for links to components to finish your new pieces (like tassels, chains, etc).