Tutorials
How to Drill Holes
You can add holes to any laser cut pieces with ease using only a few simple tools. This tutorial can be used for ALL of the materials that Vector Etch offers; acrylic, wood, mirror, anything! All of our materials can be drilled to add holes.

 View video tutorial on our Instagram below:
What You’ll Need:
- A basic drill (it can be any sort of drill and does not need to be a speciality dremel)
- A sharp 2mm (1/16″) drill bit
- A marker (any type is fine, provided it can mark the item you’re wanting to drill)
- A scrap piece of wood
- Laser cut pieces that you want to add a hole (or holes) to (can be with or without protective tape coating)
- Optional: cleaning cloth and masking tape
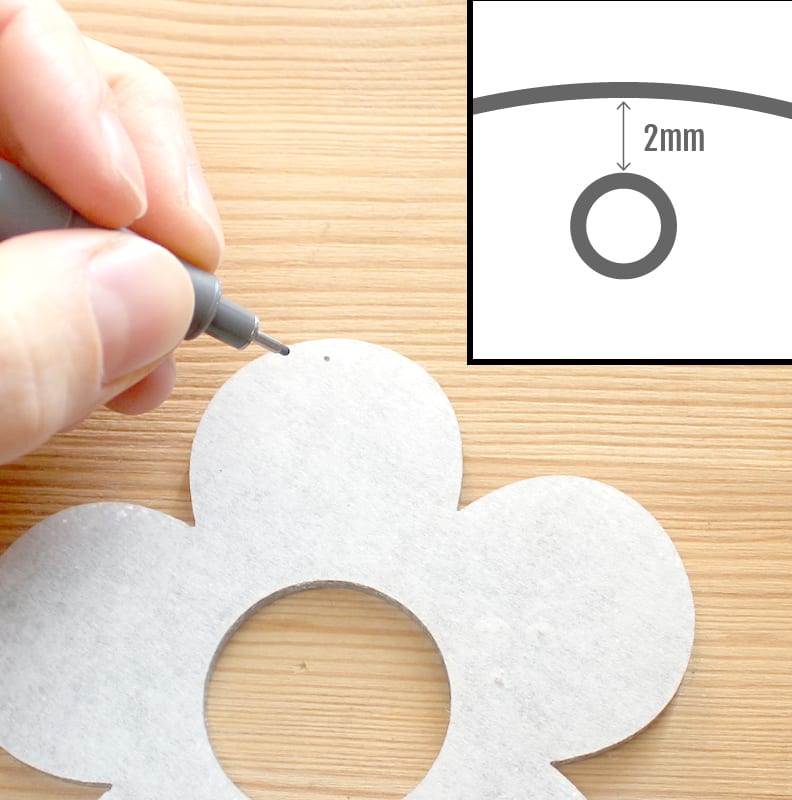
Step 1: Mark Your Hole Location
Use your marker to draw a dot where you want to the hole to be. Make sure your desired hole location is not too close to the material edge (we recommend coming in about 2mm). Similarly, make sure that your desired hole location is not too far away from the edge (as you will end up needing very large jump rings). TIP: If you have no protective tape on your piece, add a small (~20mm x 20mm) piece of masking tape over the area you want to drill.
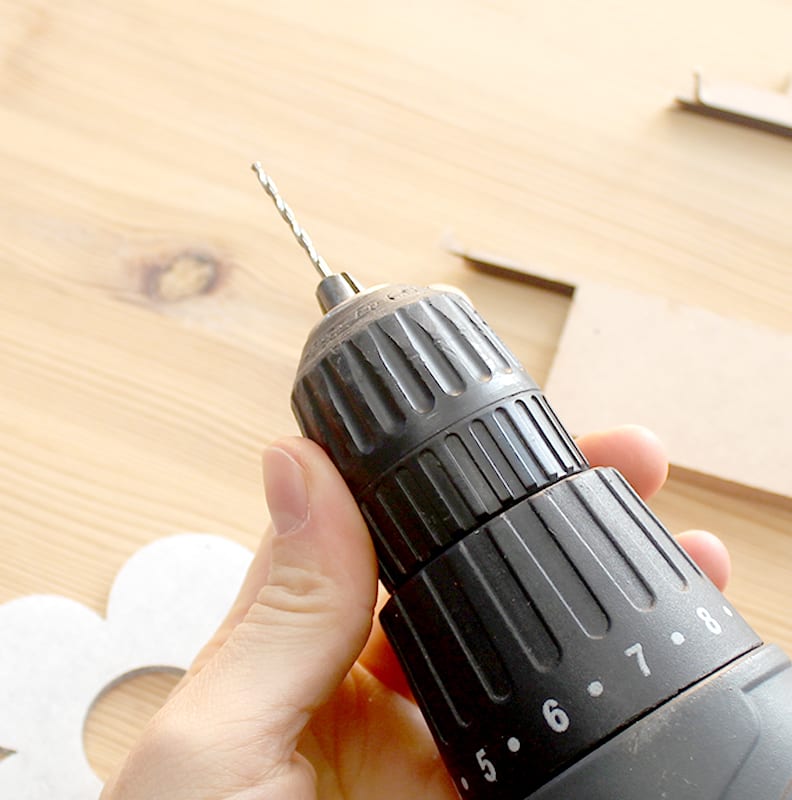
Step 2: Set Up Your Drill
Place your 2mm (1/16″) drill bit into the drill. Make sure that it is fitted straight and tight.
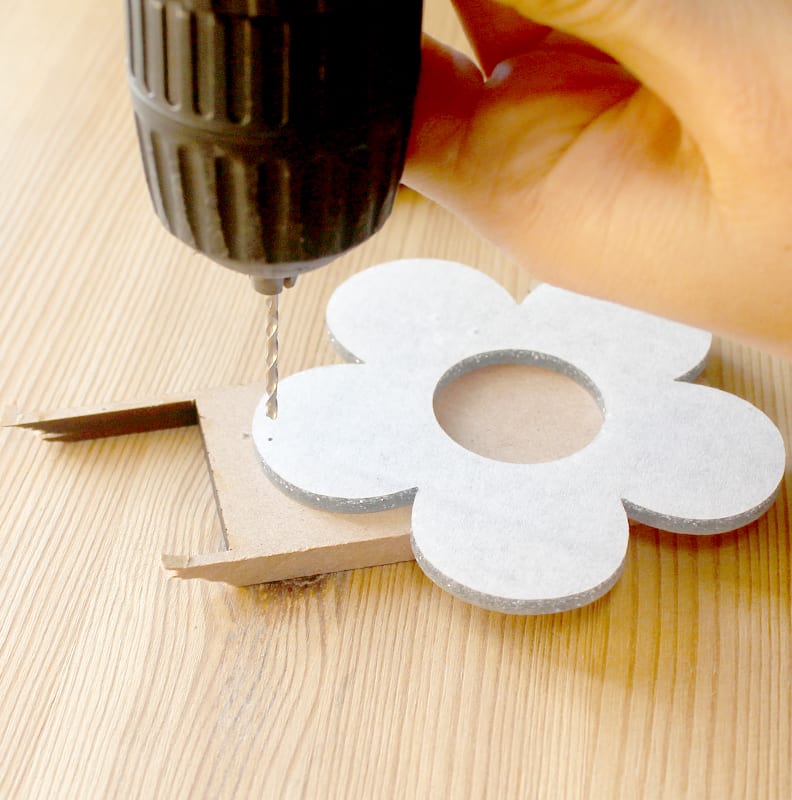
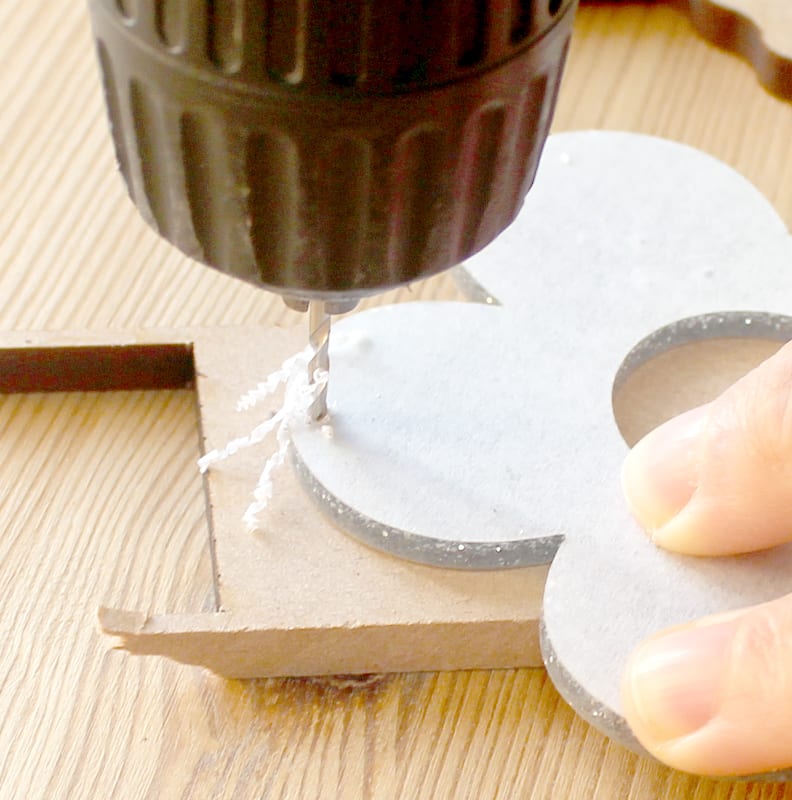
Step 3: Prepare to Drill
Set your piece to drill on a scrap piece of wood. This will mean that you will drill into the piece of wood (instead of your table-top) when you have successfully drilled through your piece. It will also act as a good support piece to make the ‘exit’ of the drill hole neat.
Step 4: Line Up Your Drill Piece
Align your drill bit with your dot. Make sure that you’re holding the drill perpendicular (to ensure that you drill a straight hole).
Step 5: Drill
Start to drill slowly. Apply light pressure and the drill will do the work to create a hole through your piece. A good rule of thumb is to drill until you see scraps from your support piece of wood start to come through. Once you’ve drilled through, slow your drilling speed and slowly remove the drill until it is completely free of your piece.
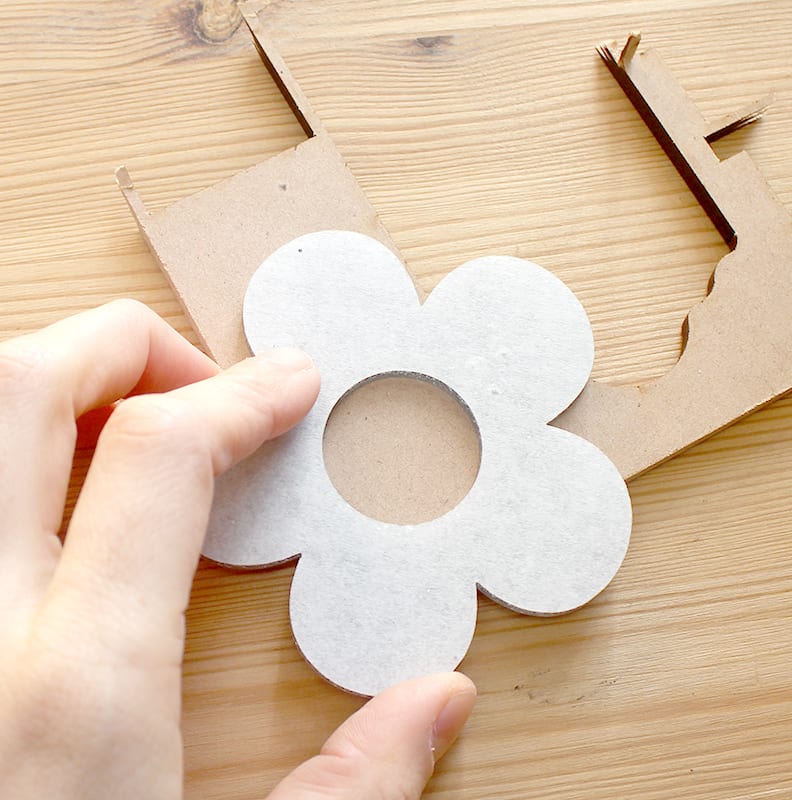
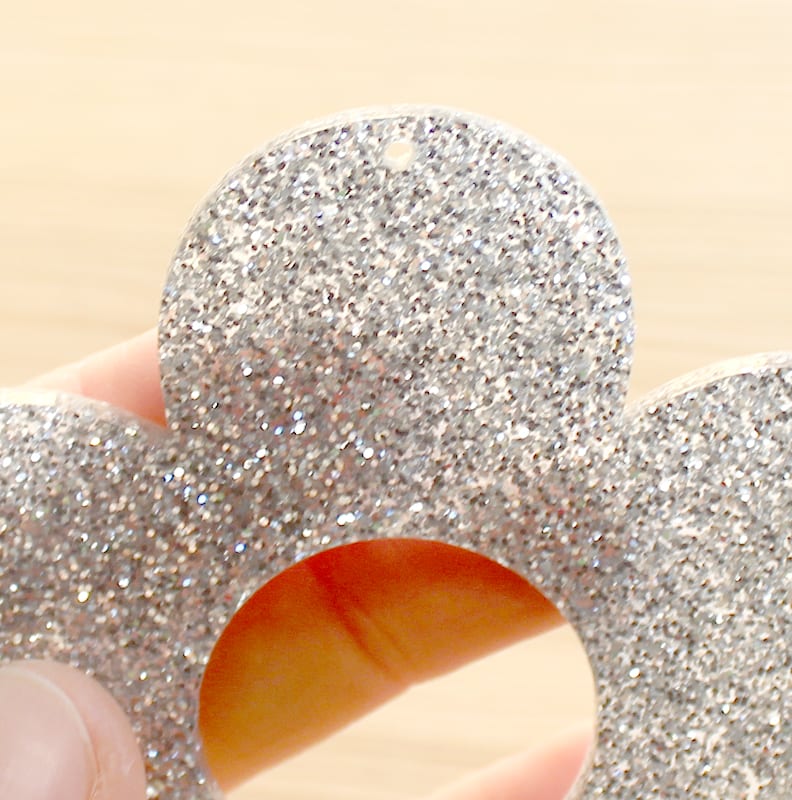
Step 6: Wipe Away Scraps
Use your thumb or a soft cloth to wipe away the drilled scraps. Be careful as some acrylic pieces may be sharp. If you have not drilled all the way through, repeat steps 4 and 5.