Tutorials
How to Glue

Hints and tips that we’ve learnt over the years for gluing metal components onto acrylic. Follow this tutorial for a long lasting product. The same method can be applied to other end products, like brooches.


What You’ll Need:
- A pack of Mixed Bag of Paired Mini Circles (Pack of 40).
- A pack of Ear Stud Posts & Backs
- A Small Tube of E6000
- A piece of scrap card
Step 1: Order and Receive Your Charms to Glue
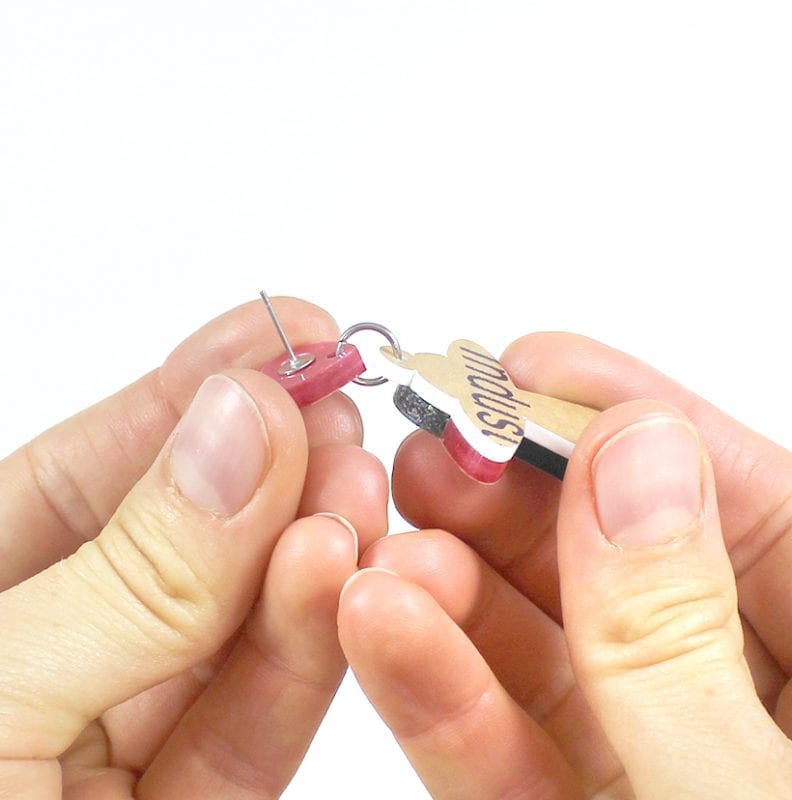
You will need to peel off the protective tape and check which side of the shape you want to be the ‘front’ and the ‘back’.
Step 2: Squeeze Out a Small Amount of Glue
Set yourself up in a well ventilated area. Squeeze out a small amount of glue onto your piece of card – about a toothpaste amount. E6000 tubes are metal, so squeeze from the bottom of the tube UP (so that over time you may roll the end, like in our photograph). You only need to apply a very small amount of pressure to the tube for the glue to come out, if it doesn’t flow freely out on its own already.
Step 3: Apply Glue to the Ear Stud Post
Pick up the earring post and dab it into your glue. You want to get a small amount that covers the total surface area.
Step 4: Position the Ear Stud Post in Place
Gently navigate the earring post to where it needs to be. Try to get it as close to it’s final resting spot as possible, otherwise you will need to push it around and will create excess glue mess on the back of your charm.
Step 5: Apply Light Pressure
With the earring post in place, gently apply pressure to create a tight bond. Make sure to apply pressure evenly, otherwise you may accidentally push the post to the side. IMPORTANT: We’ve found that mirror acrylic will commonly show the glue area on the front of the material. We do not know how to stop this from happening completely, but it can be reduced by only applying the ear post with light pressure.
Step 6: Allow to Set
Leave your pieces to glue. Try not to touch or move them around. Really, leave them be. E6000 will get tacky within about 2 minutes, and set in approximately 10 minutes. A full cure takes between 24 and 72 hours. Keep the card with your left over glue with the pieces that you’ve just glued. You’ll be able to use it to check that the glue has cured. Things like temperature and humidity can affect dry time, so by keeping your left over glue swatch with the pieces that are curing, you’ll have a simple way to double check that everything is dry.View video tutorial on our Instagram below: