Tutorials
How to Make Prototypes
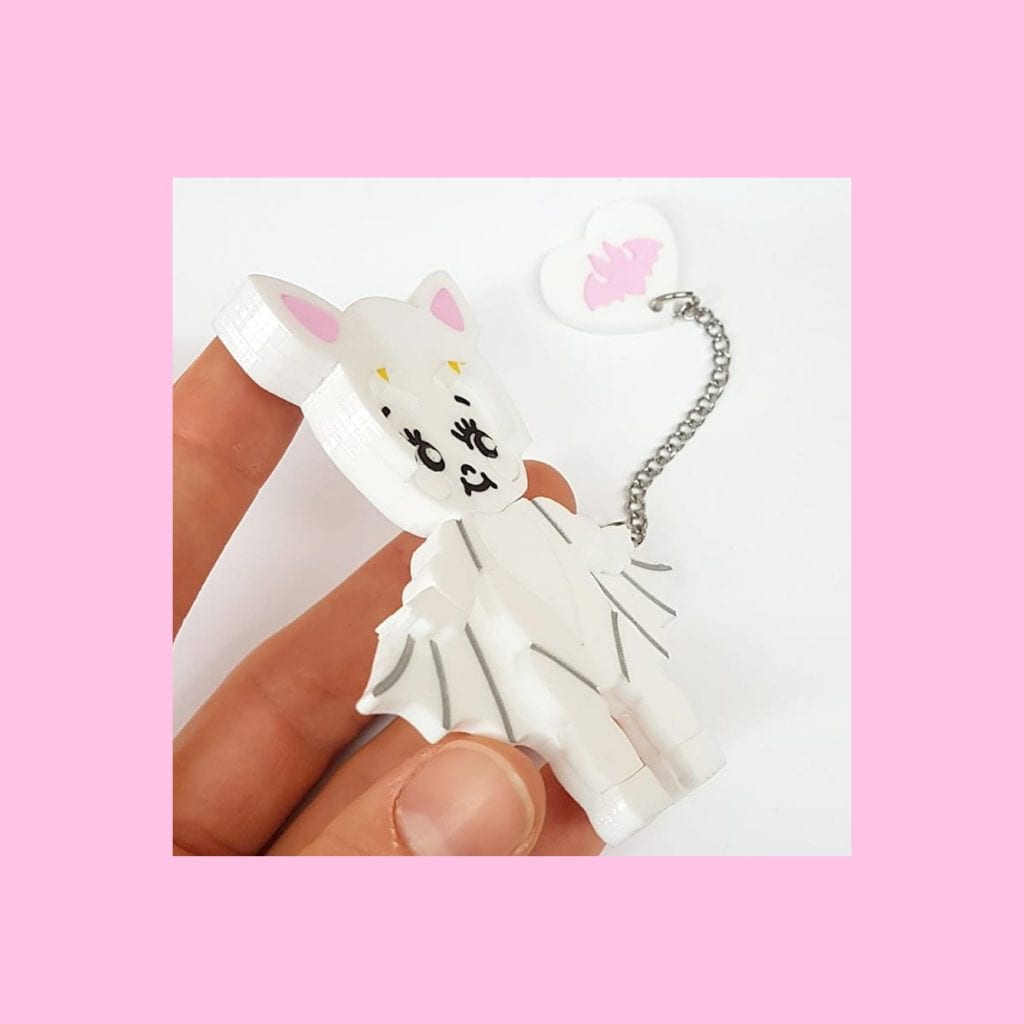
When you’re thinking of a new and complex vector designs, it can be a big leap when translating your ideas straight to acrylic pieces. We find it’s always best to create some sample versions first to see how your designs will turn out before placing a large order. It will allow you to finalise details and think of any necessary changes before you get them done in some beautiful colourful materials.
 Even with years of experience we still can’t tell just by looking at a design if all of the details are the right size and will engrave well – we still print onto paper all of our own personal projects before laser cutting to proof them! When you print it out, you might find that your design is too detailed and needs to be larger, or that some parts are too fine and need to be thicker, or it might be just perfect!
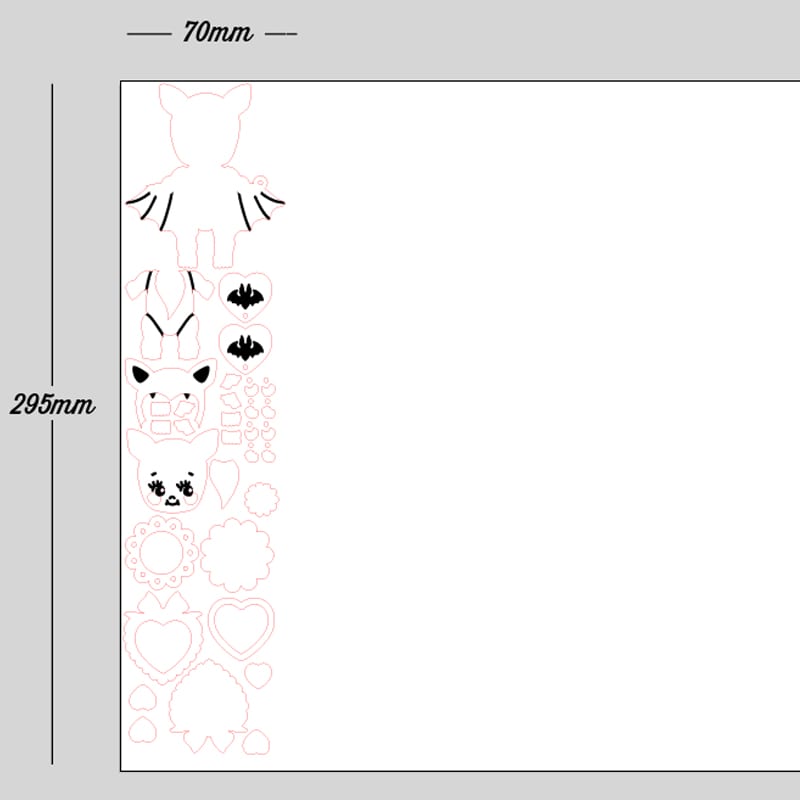 Make sure you’re using at least 50mm width, and 295mm height, of our template. This is because we charge for the full height, and whatever width of area used on a sheet. As this is the prototyping stage, make use of this and get prototypes of everything you could think of and make some variations of your pieces to see if there’s different versions that will work better. Make all different kinds of toppers, try designs in different sizes ( eg the same piece in 30mm, 40mm, 50mm). Try them with a hanging hole in the middle, or to the side, or with different engraving thicknesses.

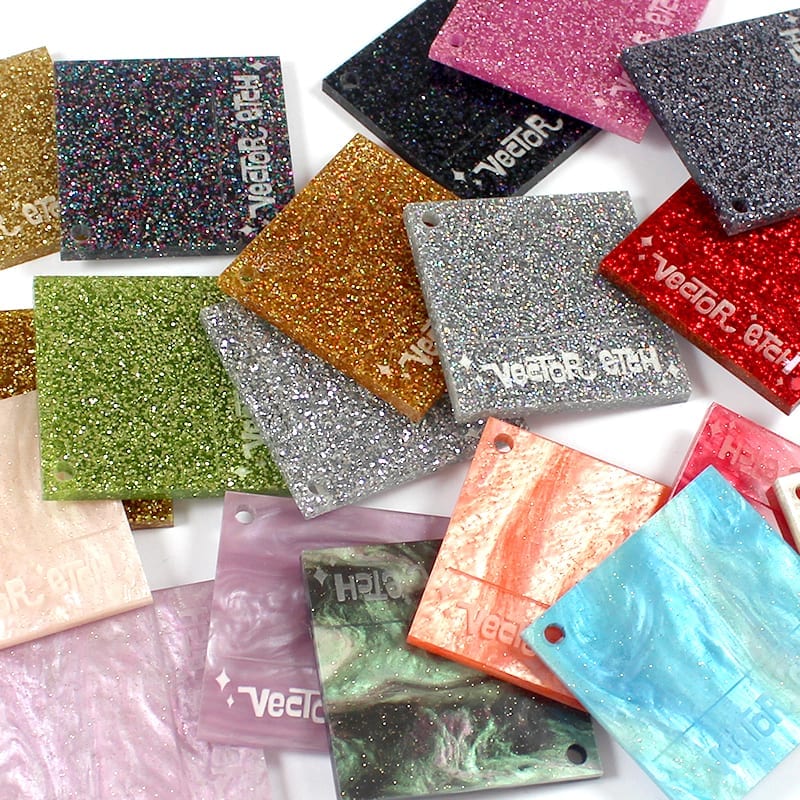
Step 1: Get swatches
We find swatches are an essential part of the design process, and are crucial for prototyping. Using our swatches online are a good start, but seeing them next to each other in real life helps to better visualise your final pieces and make necessary changes before you order the final parts.
Step 2: Print to check size
When you’ve worked out a design you’re generally happy with, print the file out onto a sheet of paper. Vector images will print exactly to size (and the same size as we’ll laser-cut it). This helps so much with visualising the final piece, and helps you gauge the sizing properly (as it can be very hard to tell from your screen), and is especially good if you have fine lines or details.
Step 3: Set-Up File
Now, prototypes are charged with the same pricing structure as normal orders, so you’ll want to get the most value out of your order as possible. As you might only be testing a small amount of shapes and using our cheapest materials, you’ll probably come under our minimum order price, so you’ll want to fill out the area to take advantage of this as much as possible.
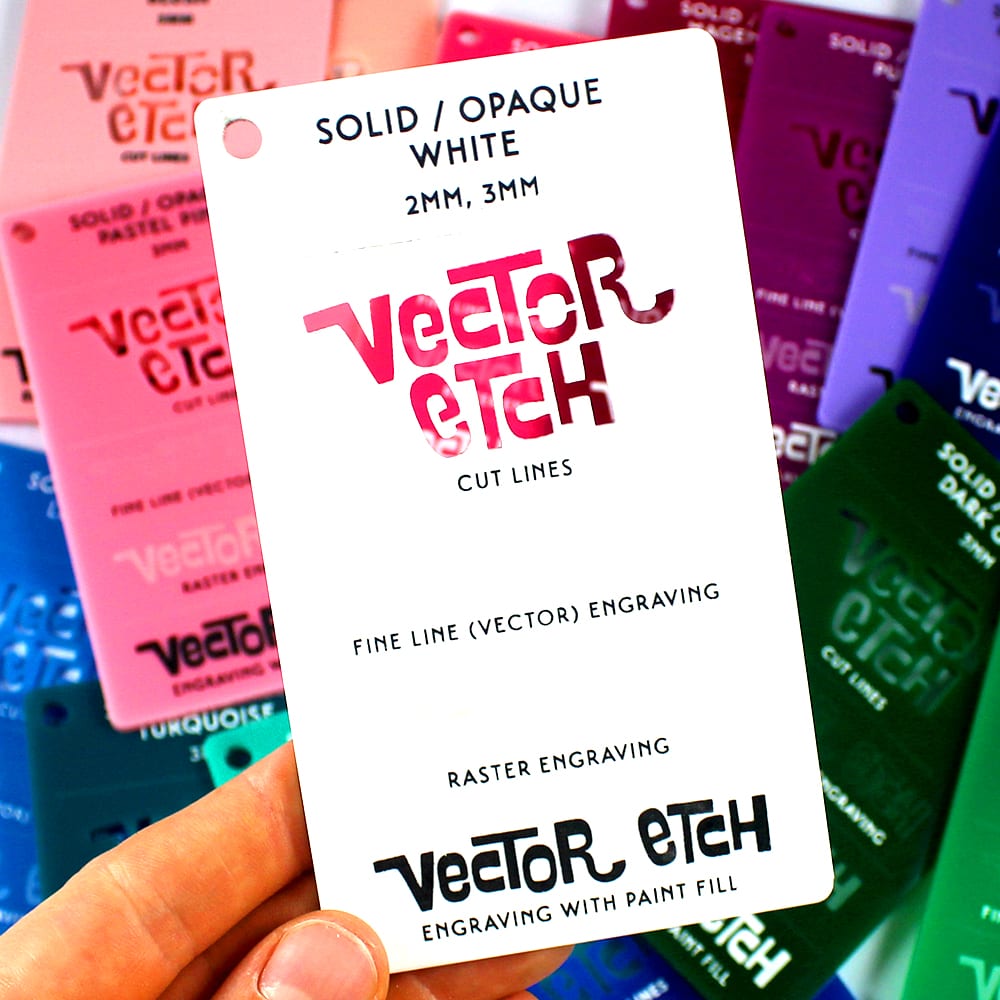
Step 4: Choose your Material
Once you’re satisfied with your paper prototype, it’s time to head to us for a real acrylic prototype. We recommend using our White Solid, Black Solid or Clear Translucent materials for prototyping, as these are the cheapest we have to offer. Our MDF is also cheap but we don’t suggest this for prototyping as the laser cut line thickness is quite different to acrylic. Try picking the closest of our recommendations to the final materials you’ll want eventually. For example, using White or Clear if you intend to use light colours or Black for darker colours. Make sure you’re testing in the right thickness material as well. Most of our materials are 3mm, so it’s easiest to start with this.
Step 5: Get Quoted
Once you’ve have everything set out, and you’ve named your file according to the material you’d like, it’s time to submit to us for a quote. If you’re still a bit unsure about your design, make sure to mention this in your submission and our friendly staff can provide further design tips if necessary. We’ll also check that everything is set up properly for you. Find our quote form here.