Tutorials
How to Make Signage
We know that lots of our customers spend a lot of time selling their beautiful creations at local markets and art fairs. A great way to grab passerby attention is to create a sign that represents your brand and what you do. We’ve compiled some ideas and tips for making signage.

Consider Size
Most of our materials are 600 x 300mm, with the exception of solid wood sheets which are smaller (please refer to our material listings for material sheet size information). Your signage will have to fit within these parameters, but not to worry! There are ways of getting your sign to be as big as you need. Consider cutting the designs in half to fit onto our 600 x 300mm sheets, and then gluing them together on a backing board. Depending on the material, the pieces will fit together pretty seamlessly. Note if you use a wood material, the grains could be in different directions, but as a whole the difference should be unnoticeable.
Consider Materials
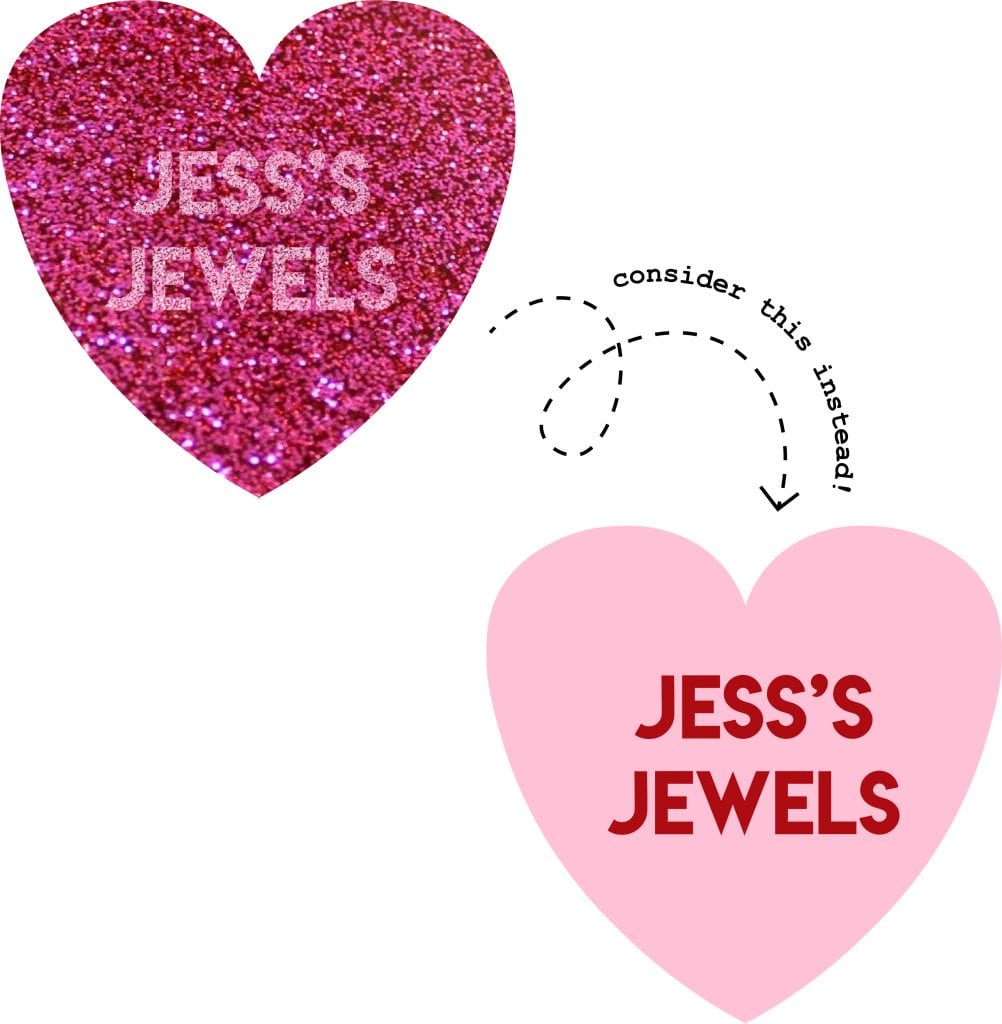
When you’re designing for a larger scale, you have to consider what your designs will look like from far-away, and what will and won’t stand out. When making jewellery, you’re able to see all the intricate beautiful details and colours, but with signage, details can be lost and confuse the overall vision of the piece. For example, layering sparkly pieces of similar colours up close might look lovely, but from afar won’t be contrasted enough for customers to read. Consider solid, bold colours that contrast well. If you use a glitter, consider pairing it with a solid white to get the full affect.
Consider Paint-Filling
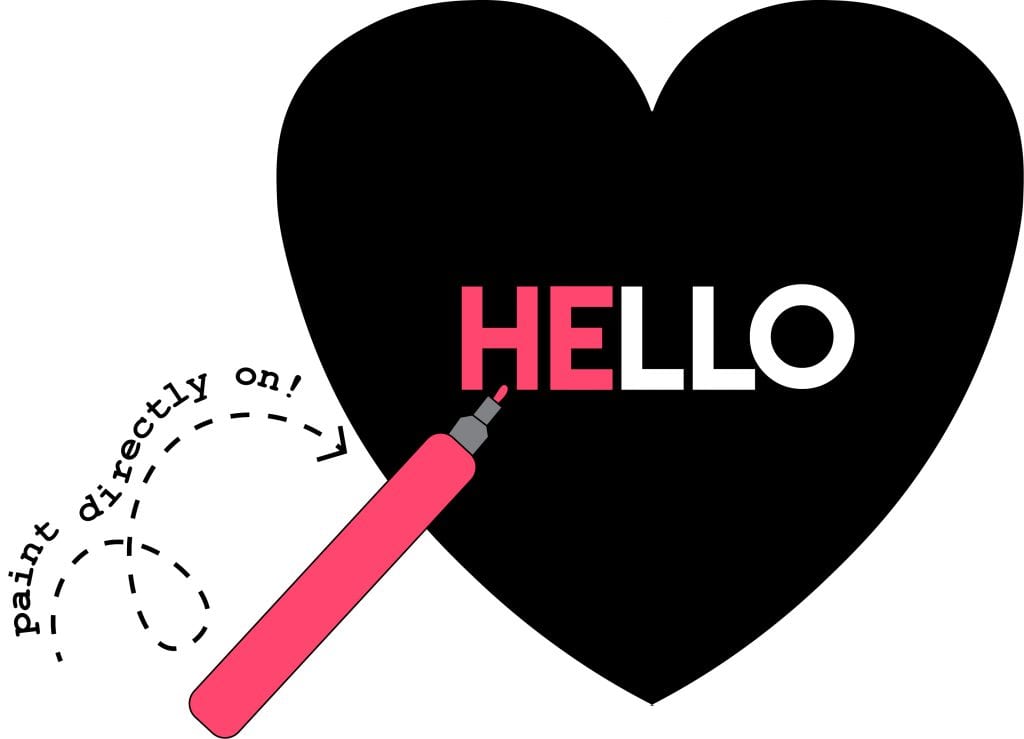
Paint-filling can be a more cost-effective way of including text or designs in your sign, as opposed to layering different materials. Paint-pens are widely available at your local Officeworks or art store. If you use a toothbrush to brush away the loose acrylic dust in your engraved areas before painting, your paint-fill should last through rain and shine. We have a great tutorial for this method here on our website.
Consider How You’ll Use Your Sign
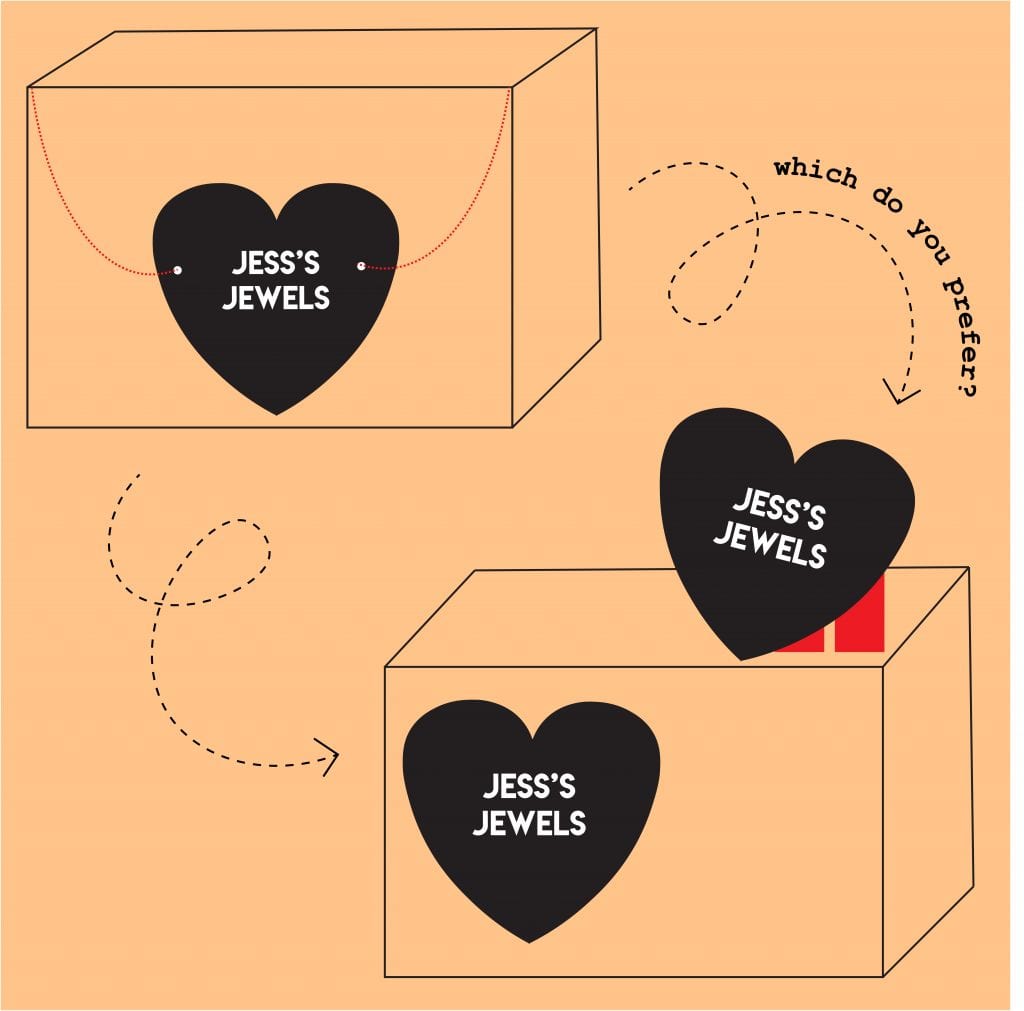
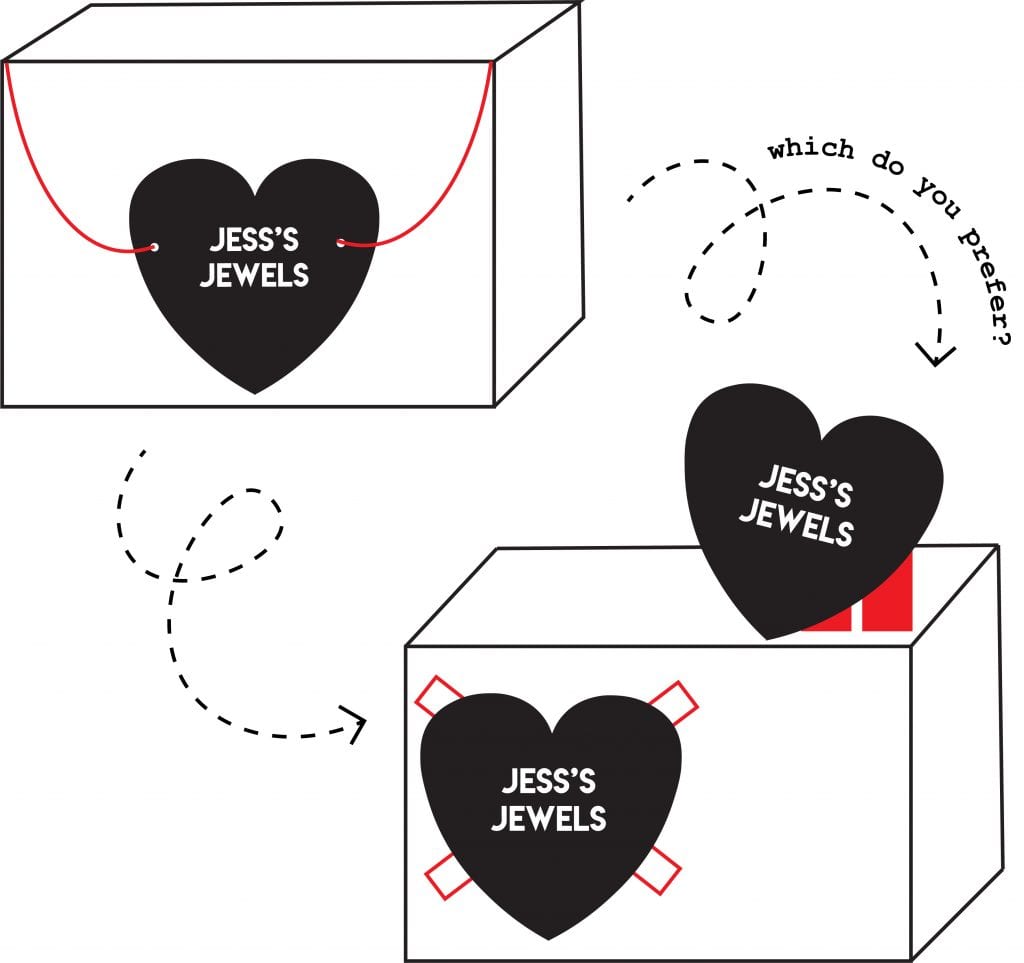
How will you set-up your sign once you’re at your event? There are a few ways you can consider using to get your sign secured at your table or booth. If you think hanging would be the best way to go, simply add two holes into your vector file so that you can use some string or a chain to hang your sign where your stall is. Other methods could include creating an acrylic stand to lean your sign against on the table, or using double-backed adhesive tape to stick your sign to a flat surface. Which method you choose could depend on where your event is held. Consider how often you’ll have to be taking the sign up and down, or whether you can leave it set-up over a period of time.
Setting Up the File
To create your custom signage, you’ll have to set-up a file to submit to our team for quoting. We have some guidelines you’ll have follow, which you can find here on our website. If these guidelines don’t make sense and you want to learn exactly where to start with vector-making softwares, our in-house designer Alex of Lazer Unicorn has a great design school that covers all the basics, which you can find on her website. If it’s not accessible for you to create your own files we have some recommendations for designers on our website here.
Real Life Examples
We have amazing customers with great creative minds, so we’ve compiled a couple of signage examples that they have put together with a little help from us:
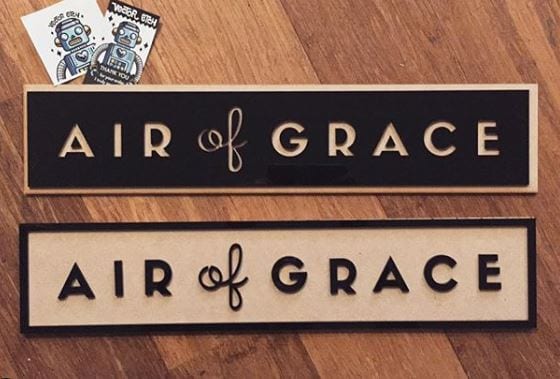
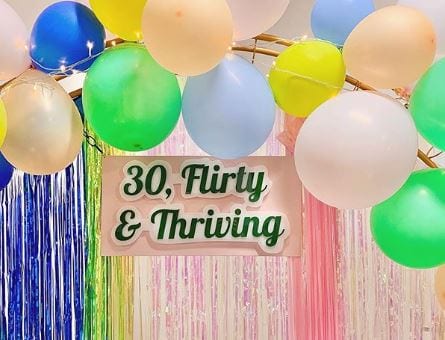
Coffee & Burritos is a business specialising in beautiful acrylic earrings. This is her custom sign she made for her 30th birthday party. Follow her creative work on Instagram.
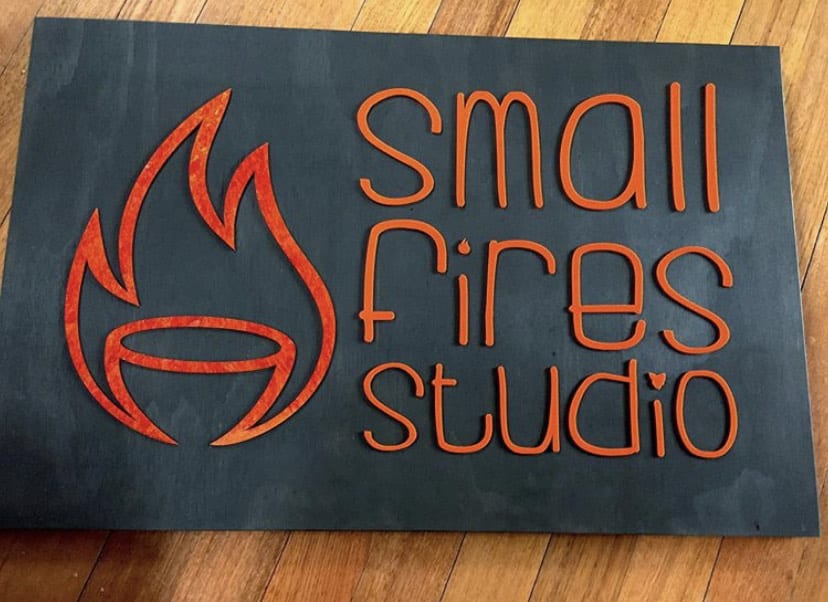
Small Fire Studios are an awesome small business selling hand-crafted pottery. They came to us in need of market signage and they even used our handy tip of cutting your design in half and gluing it together in order to get something the exact size you’d like! Follow them on Instagram and check out their website
