Tutorials
How to Make Resin Style Laser Cut Jewellery
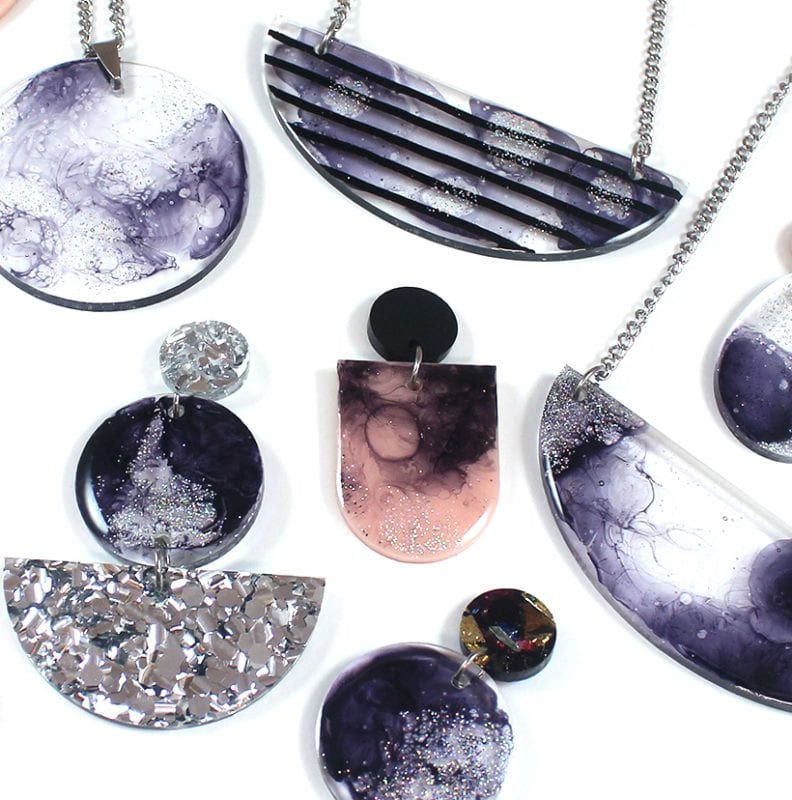
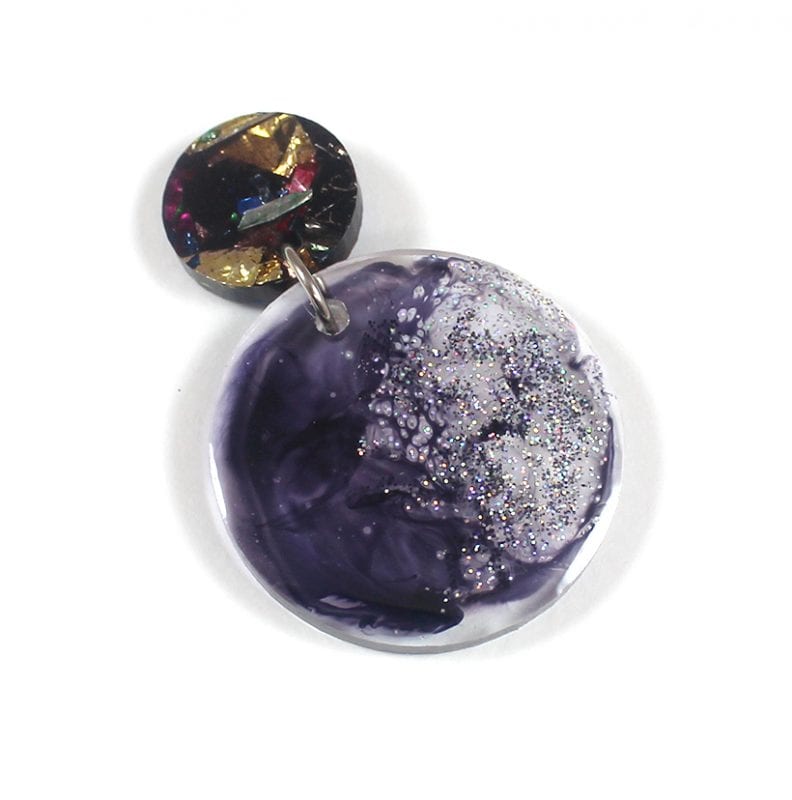
You can add self doming resin to the top of laser cut pieces to make a huge variety of colours, patterns, and finishes. In this tutorial, we show you an example using ink and glitter – but the options for this technique are limitless. Use this method with different colours, and with other mediums like pressed flowers and patterned paper to create anything that you can imagine!
What You’ll Need:
- Your favourite shapes in clear acrylic (either from our range of shapes, or order some custom shapes here), with no holes, already peeled.
- Ranger Archival Ink Re-Inker
- Loose glitter (we had some make-up glitter handy from The Makeup Wardrobe)
- Glass Coat Liquid Gloss Kit
- Mixing Container
- Paddle pop sticks
- Wood skewers
- A scrap piece of card (to work on)
- Optional: Butane lighter or Isopropyl Alcohol in a misting bottle
- Optional: An over rack/cooling tray
- A marker (any type, for marking where to drill holes)
- A drill and small drill piece
- A scrap piece of wood (to drill into)

Step 1: Prepare Your Work Area and Resin
Lay out your acrylic pieces and make sure they are free of any oil residue (like finger prints) and dust. Follow the guides provided with the Glass Coat Liquid Gloss Kit to mix a small batch of resin (about 8 grams of each part).

Step 2: Apply a Base Coat of Resin
Use a paddle pop stick to spread a thin coating of resin over your acrylic piece. Work from the middle of the piece outwards, making sure to get to the edges. Follow steps 2 – 4 working on one piece at a time (just in case you get a phone call or something, and your resin begins to cure).
Optional Tip: Resin your pieces on an oven rack/cooling tray. This way any drips or overflow will have somewhere to go other than to the underside of your pieces.
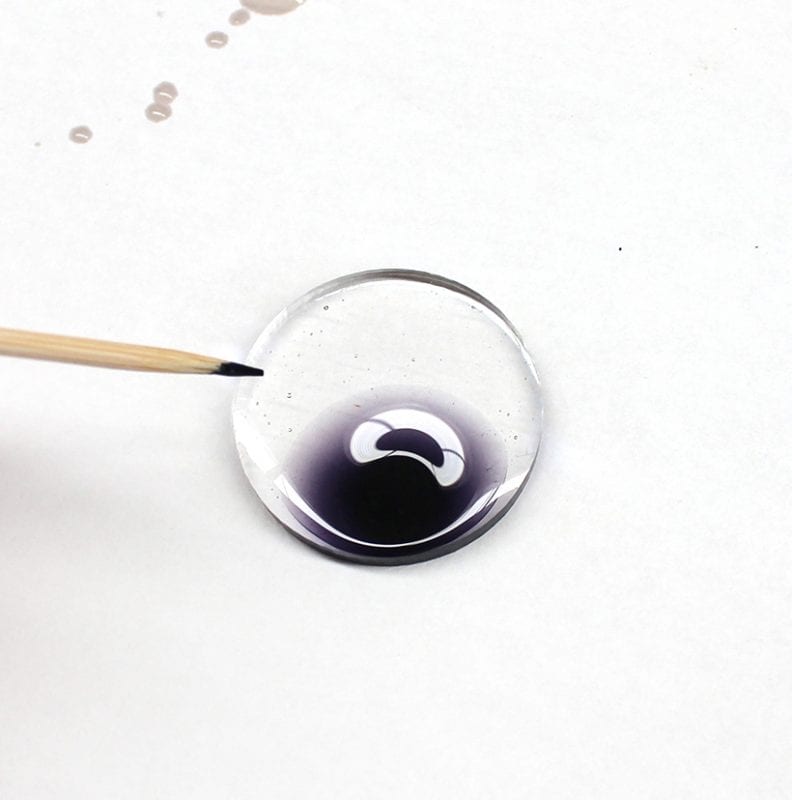
Step 3: Add Ink
Use your skewer to pick up a small amount of ink (it will spread out – a little goes a long way) and push it into the resin.
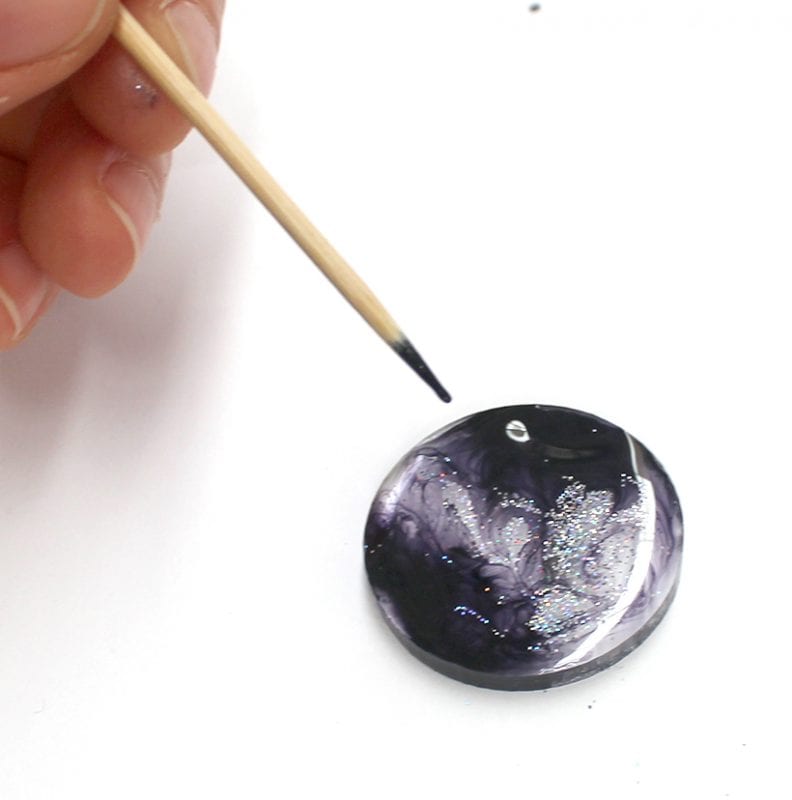
Step 4: Add Swirls and Glitter
Use a clean skewer to create swirls with the ink. Sprinkle glitter over the top.
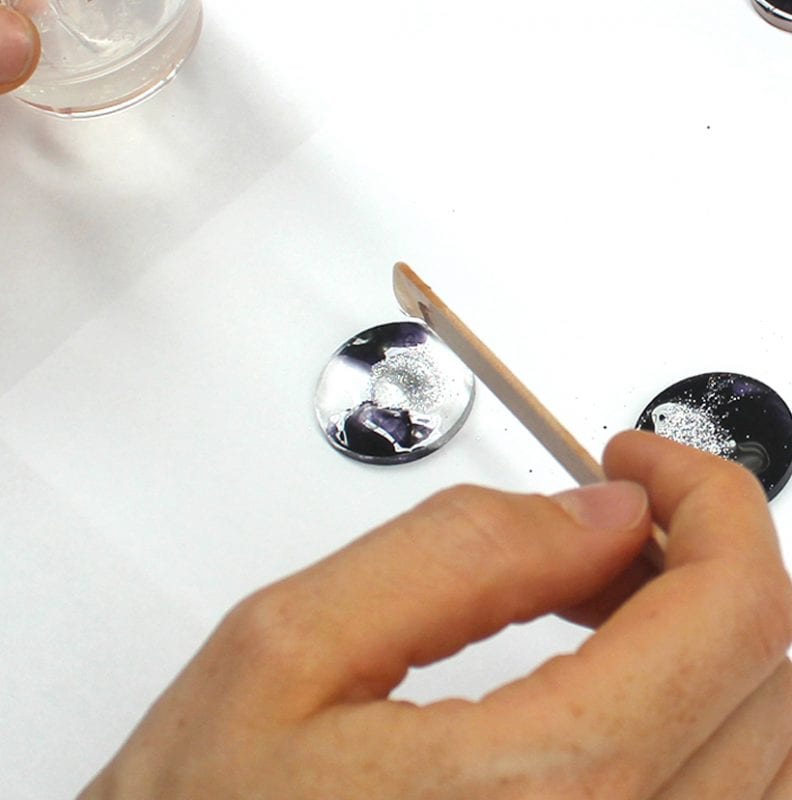
Step 5: Add More Resin to Create a Domed Shape
Use a paddle pop stick to pick up more resin, and drip it over your piece until there is enough resin that it forms a dome shape.
Tip #1: When you mix your resin it will get small air bubbles in it. Once applied to your pieces, you can use a Butane lighter or Isopropyl Alcohol (in a misting bottle) to remove these bubbles.
When done, leave your resin to cure (about 1-3 days).
Important side note:
If you’ve never, ever used resin before, I highly recommend applying resin to one piece only as a test run. The trick with resin is to apply just the right amount – if you apply too little, it won’t get the nice doming effect to all edges, apply too much and it will over flow off the edges. It’s something that takes a little practice to perfect, and I’ve seen/heard of many people ruining complete batches of jewellery pieces by trying to master the technique on 20 pieces for their first attempt.
Step 6: Drill Holes
Put a small drill piece into your drill. Draw a dot onto your shape where you would like to drill your hole/s. Place your shape onto your scrap piece of wood. Line up the drill piece with the dot you’ve indicated for hole placement. Hold the drill as upright and straight as possible, and while applying light pressure gently drill into your shape. Drill until you’ve gone all the way through (you will see wood scraps coming out instead of just acrylic).
You could order your acrylic shapes to already have holes drilled BUT… in my experience I have always found that the resin wants to flow into the holes (and you will need to drill out the holes again anyway, as well as clean up additional resin spills).

Step 7: Keep Creating and Share with us!
Show us your new pieces, we would love to see! Post your designs on Instagram and tag @vectoretch #vectoretch.
Final Tips:
Use Different Colours and Paint Pens
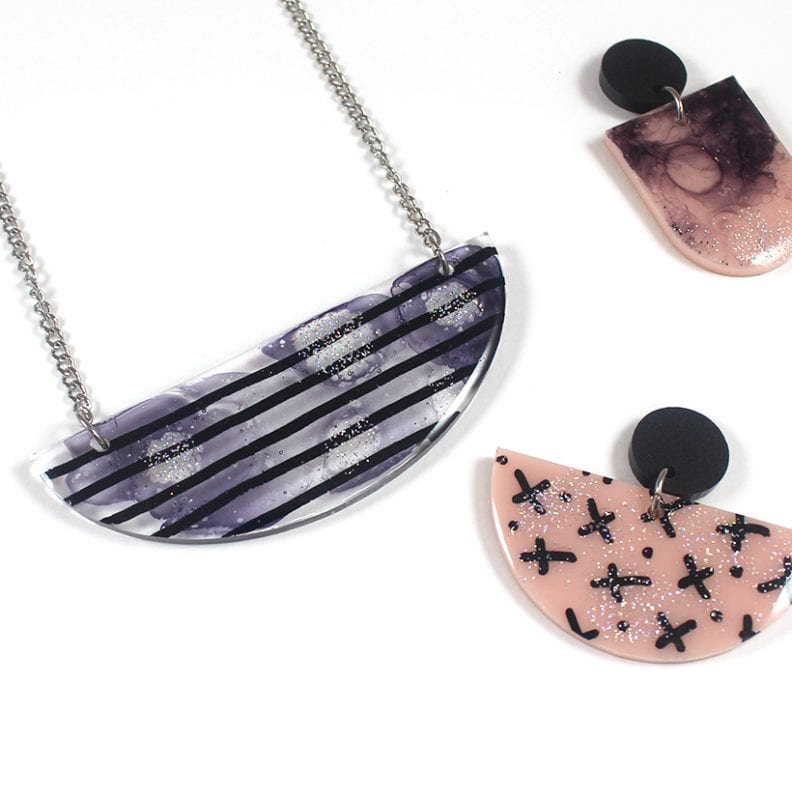
Experiment using a different types of materials under your resin. We’ve seen some great laser cut pieces that use black glitter as a back and mix in other glitter types over the top within resin. You can also draw on your acrylic pieces with paint pens before applying resin, as described in our tutorial for How to Make Layered Resin Laser Cut Brooches.
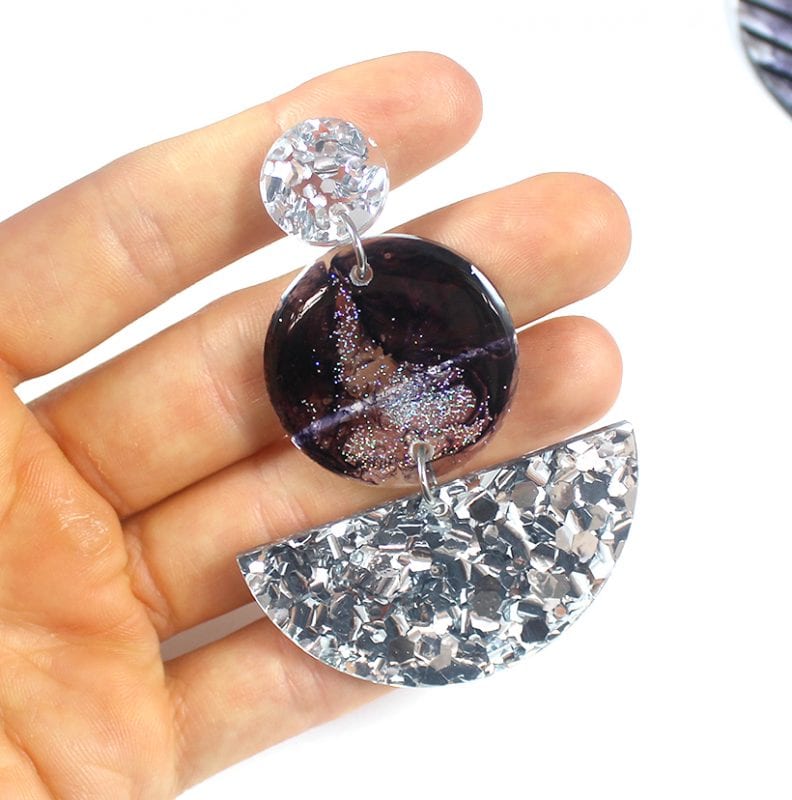
Combine with Other Shapes
Join your pieces together with different materials to create more detailed pieces, and a variety of product types e.g. brooches, pendants, earrings.